All of our products are either wheel-thrown or slip cast with molds we make from our own designs.
The main difference between the two methods is in the forming stage. Once the shape is formed, all the items go through the same process, including trimming, drying, first firing, glazing and glaze firing.
Here is a summary of the various steps of our process. For additional pictures, please click on the links at the bottom of the steps, or click here for the full workshop albums.
STEP 1: Forming The Shape
Wheel Throwing
Clay preparation:
First, we mix the clay from our own blend of eight different materials in a customized clay mixer.
Then we transfer the clay into the “pug mill” to make it easier to work with and remove air bubbles. We store the extruded pieces in plastic bags to “age” for at least a week, which further improves the clay’s workability.
Forming the shape on the wheel
Before the wheel-throwing process, we weigh each ball of clay for consistency of size. To begin, we center each ball on the wheel head and open a hole to form the pot’s base. Then we pinch the clay and pull it up a few times until we create the desired shape. The last steps are to smooth the outside with a metal "rib" tool, clean it with a sponge, and set the pot aside until dry enough to trim.
Click here for the full album of wheel throwing
Slip Casting
Designing & Making Prototypes
We use several techniques to design and make prototypes. Here is one example, which we used to make our flower-shaped nesting bowls.
We first designed flower shapes in three sizes with equal differences between them, so the bowls nest perfectly in each other.
We cut the printed forms, which required three patterns for each size: top, middle, and bottom. We traced them onto thin board and then cut and screwed them together with carefully measured spacers to determine each bowl’s height.
Next, we filled the spaces with clay and formed the final shapes with several stages of cutting and smoothing using various tools.
Click here for the full album of Designing & Making Prototypes
Mold Making
We put the prototypes on thick boards, surround them with metal flashing to form walls, and seal them with clay along the bottom. We then spray the prototypes with “mold release” to prevent the plaster from sticking, mix the plaster, and quickly pour it in. Once the plaster has set up, we remove the flashing and prototypes, revealing a “negative” mold of each shape. The newly-created mold requires some sanding and cleaning, and then a drying period of several days before the first casting.
We use silicone to produce a “positive mother” mold from the original plaster mold. This allows us to make duplicate production molds, which have a limited service life and need to be replaced periodically.
Casting
First, we weigh the casting slip (liquidy clay) and adjust the amount of water, if needed, to ensure the required optimal consistency. Then, we fill the molds with the casting slip and let them sit for approximately 10 minutes. The plaster acts like a sponge, drawing water away from the slip as it builds up along the mold’s inner surface. When it reaches the desired thickness, we pour the remaining liquid out, trim the excess from the edges, and let it sit until the item is dry enough to remove.
Click here for the full album of Mold Making & Slip Casting
Step 2: Finishing Process
There are several finishing steps that the items go through between the stage of forming the shape and the first firing, including trimming, smoothing with a sponging machine that we built, and putting handles on some of the items.
Step 3: Bisque Firing
All items are fired to 1,850 °F (1,010 °C) in electric kilns. This firing makes the pottery easier to handle with less risk of cracking and helps it absorb glaze.
Click here for the full album of Finishing Steps & Bisque Firing
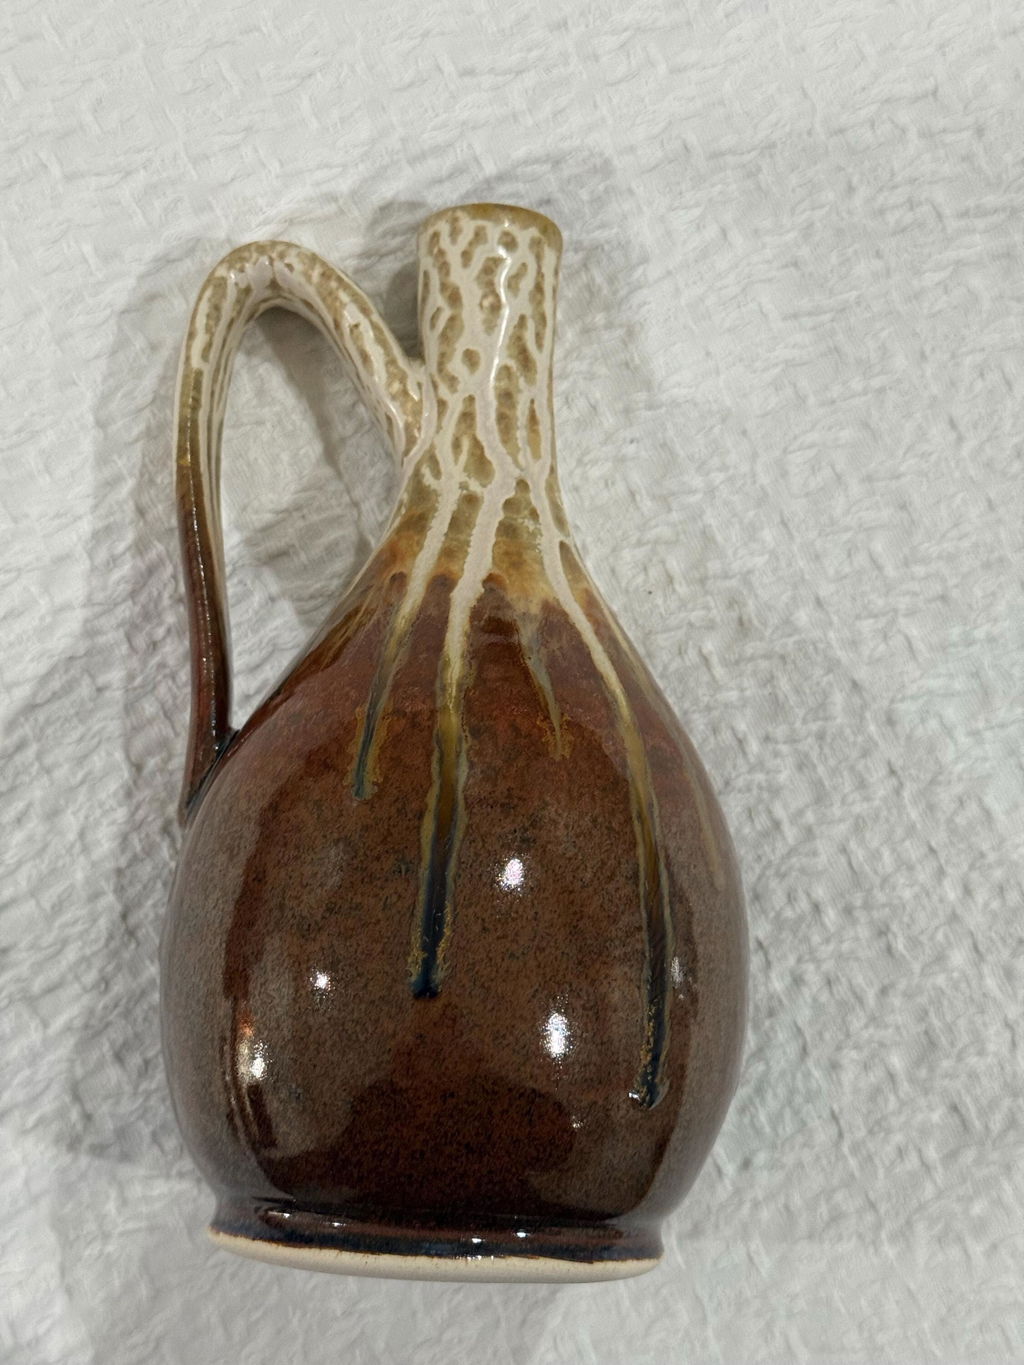
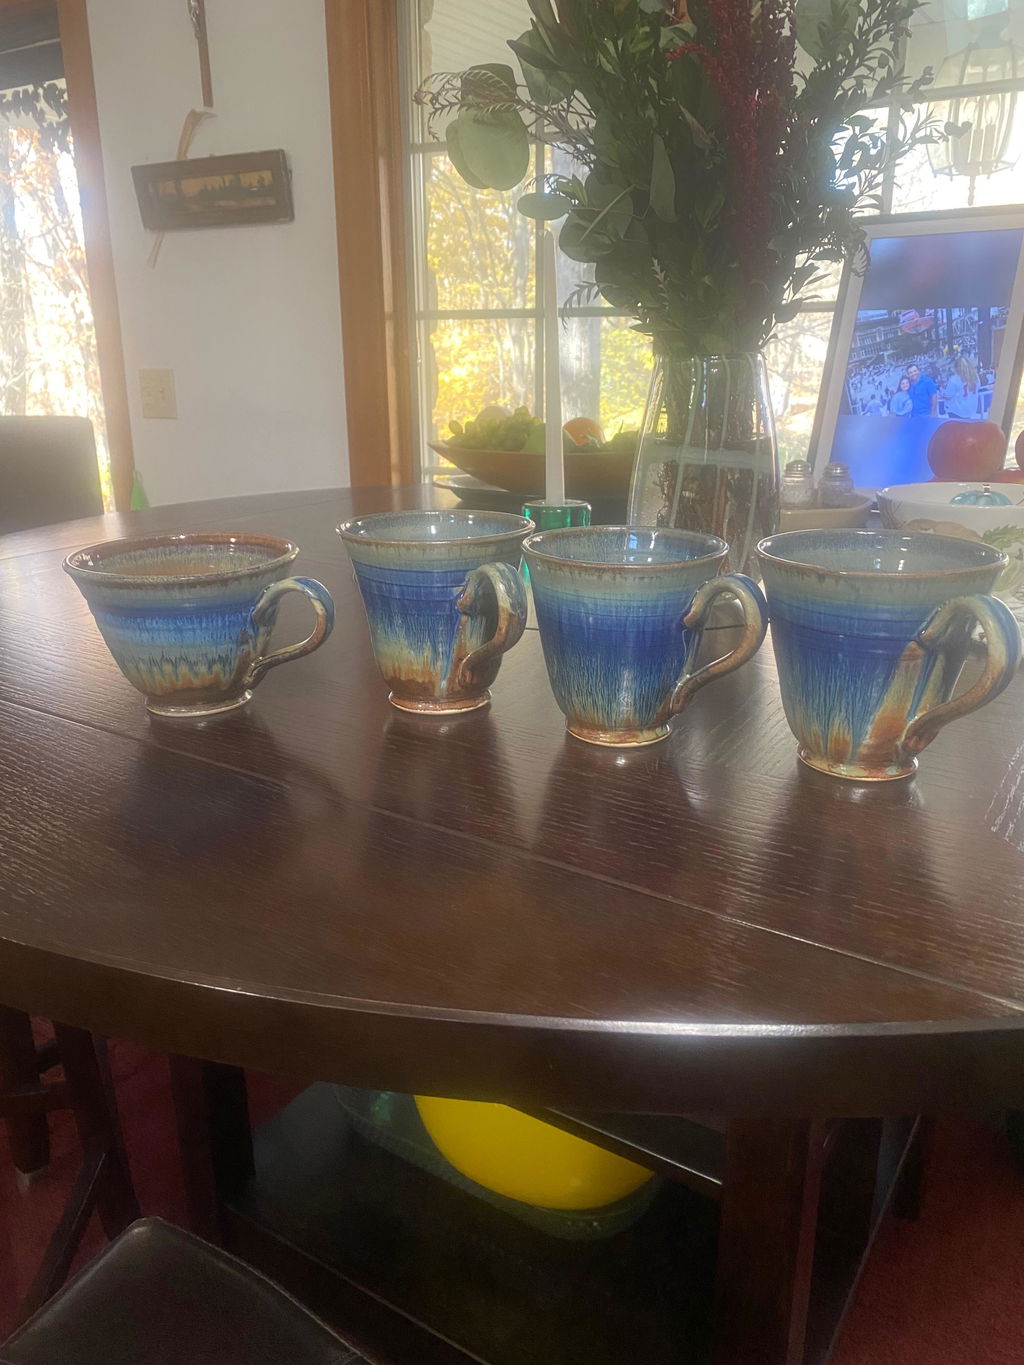
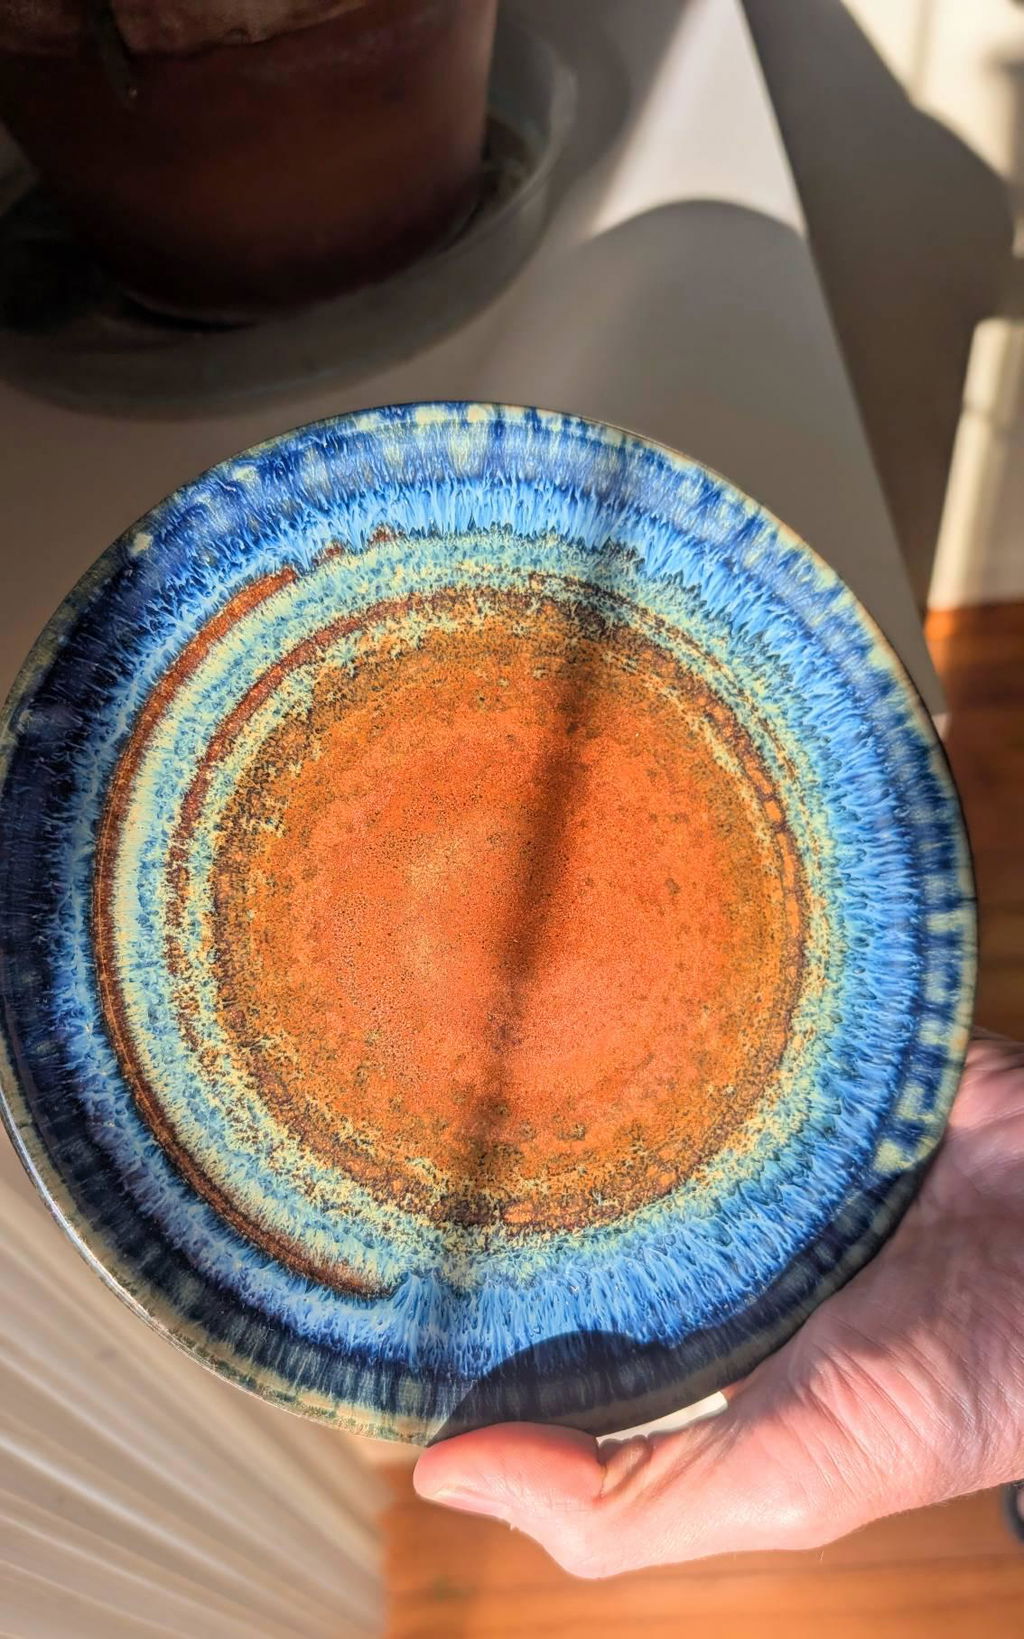
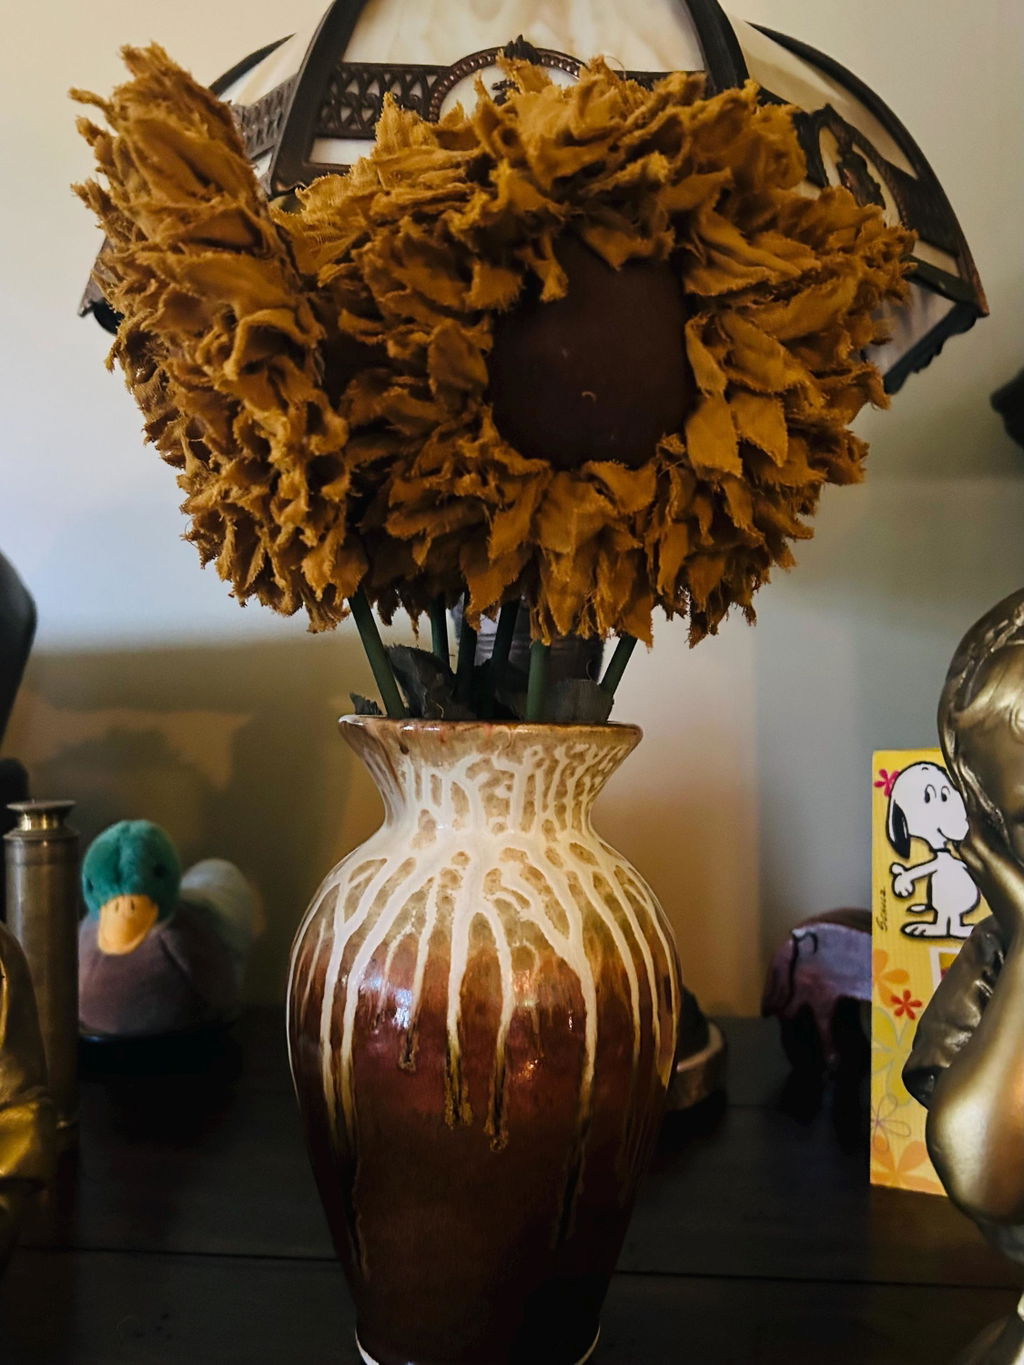
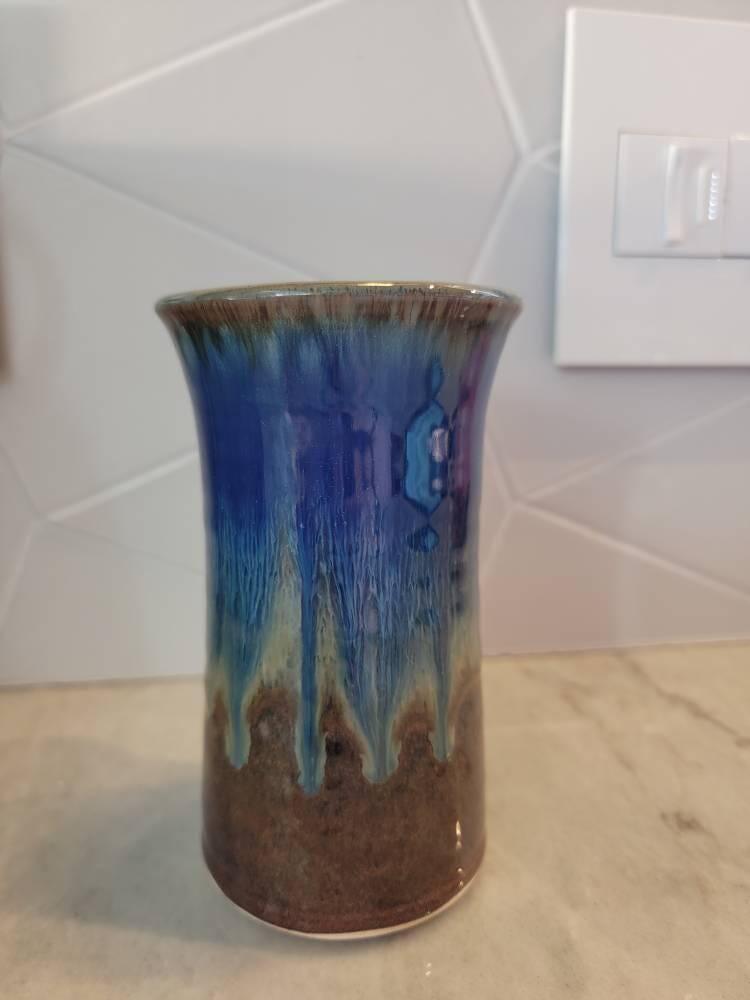
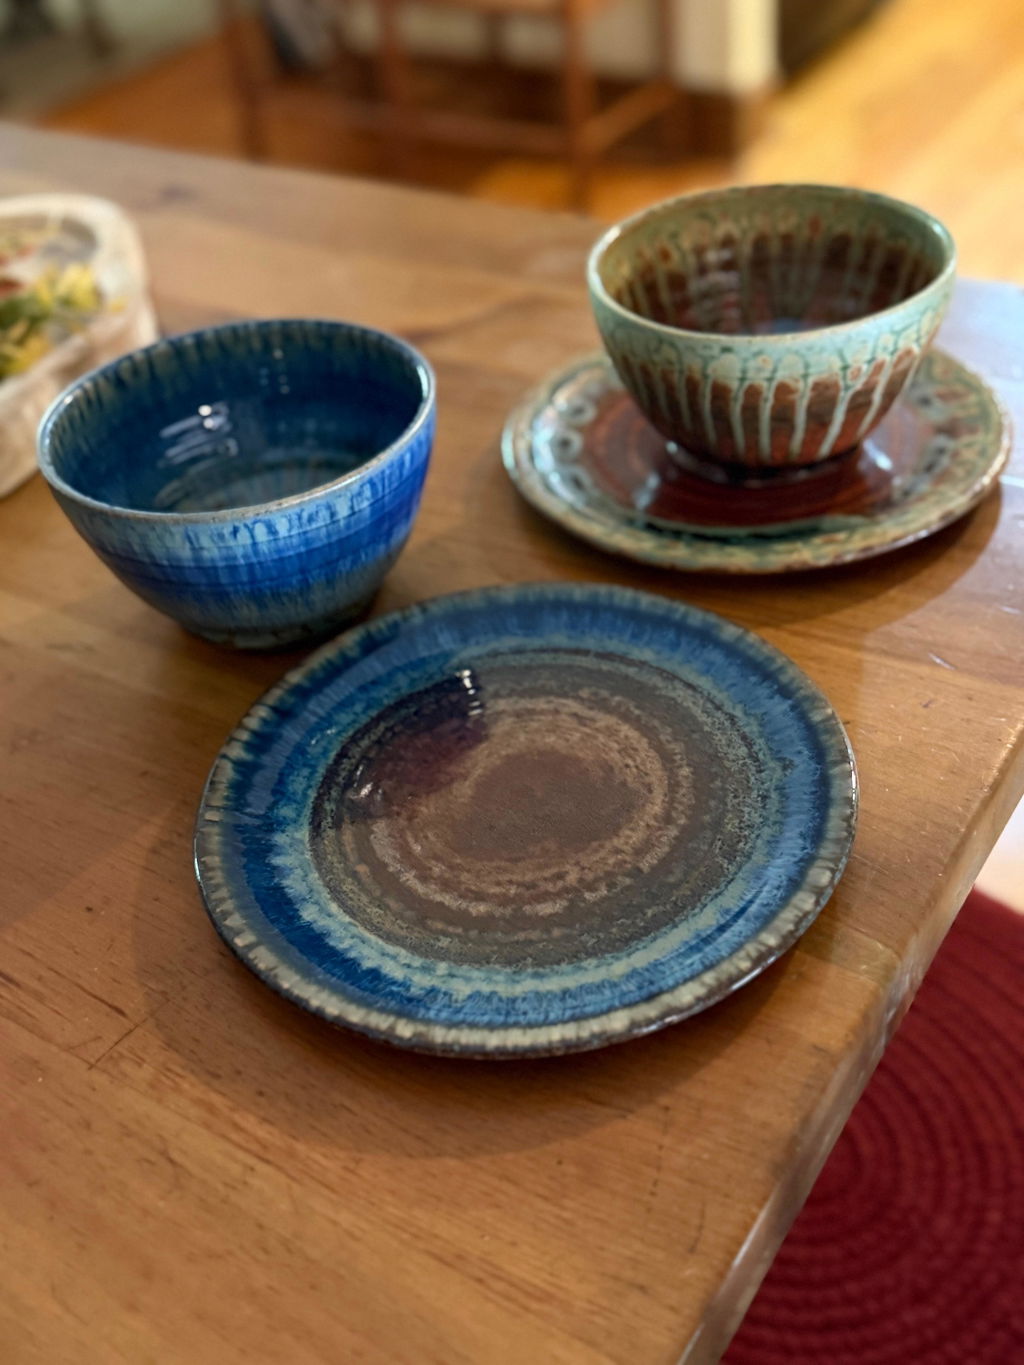
Step 4: Glazing
Glazing is the most critical step in our production process.
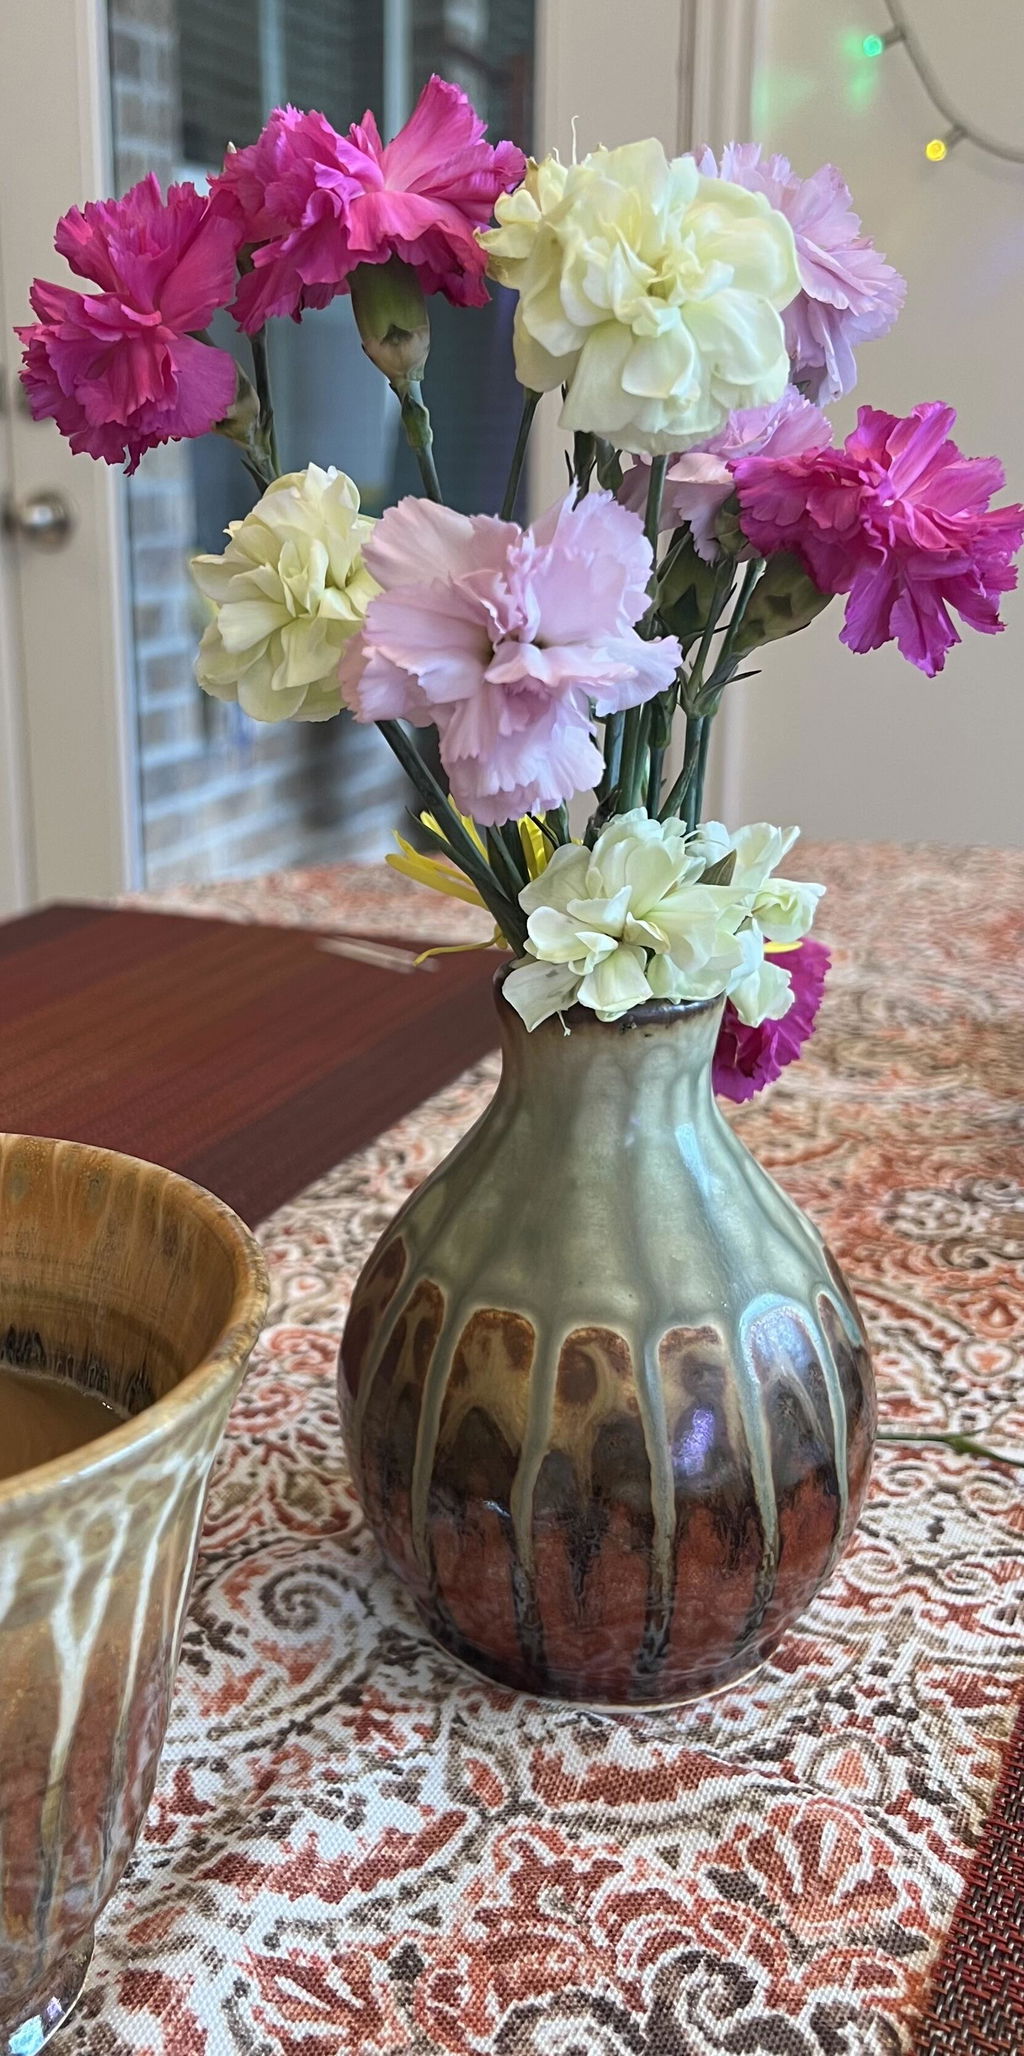
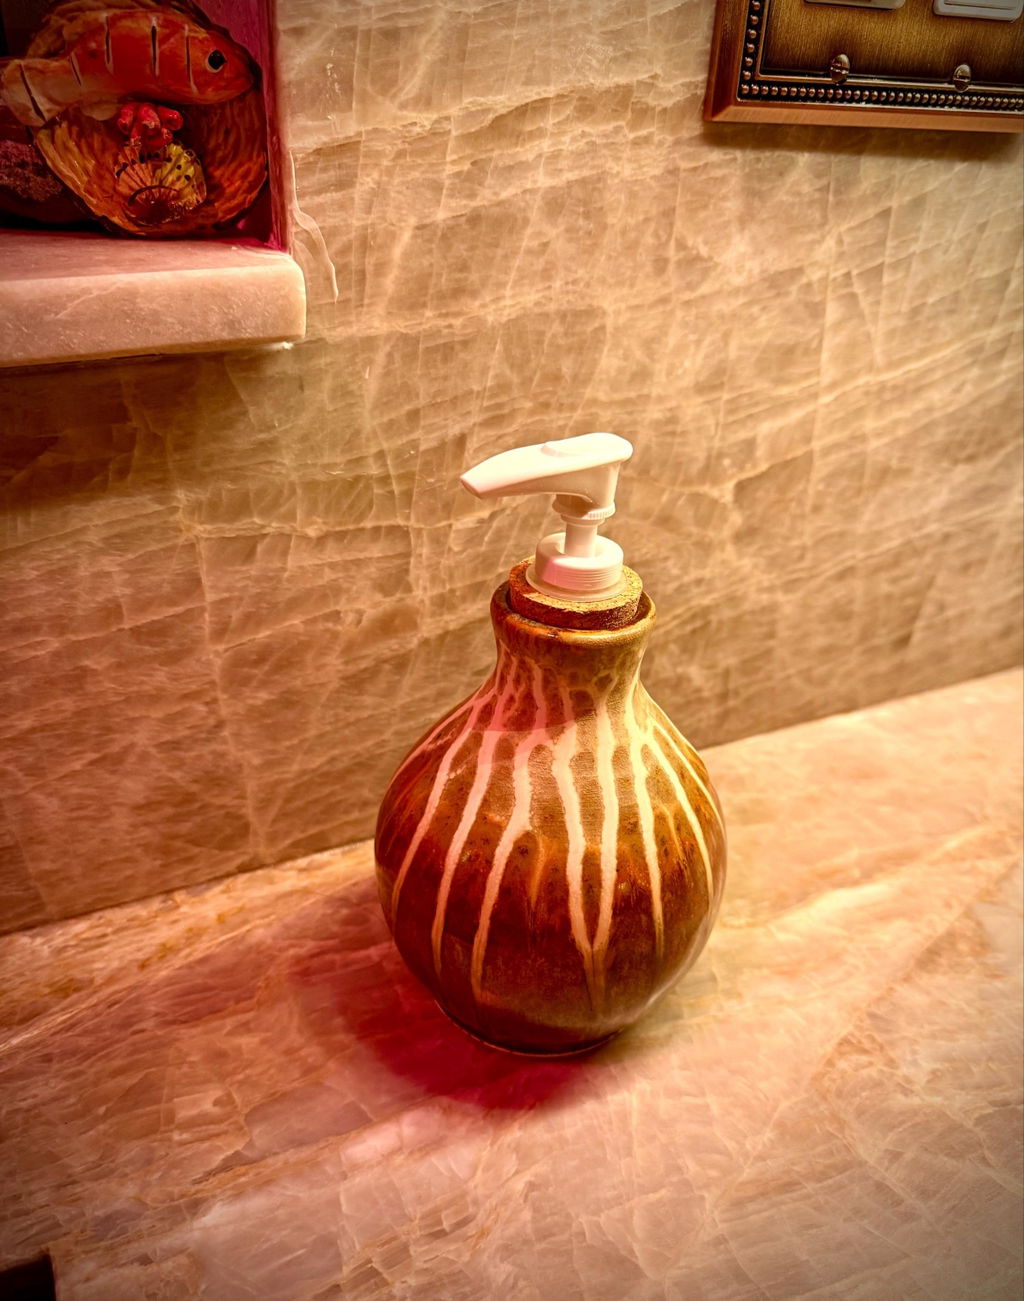
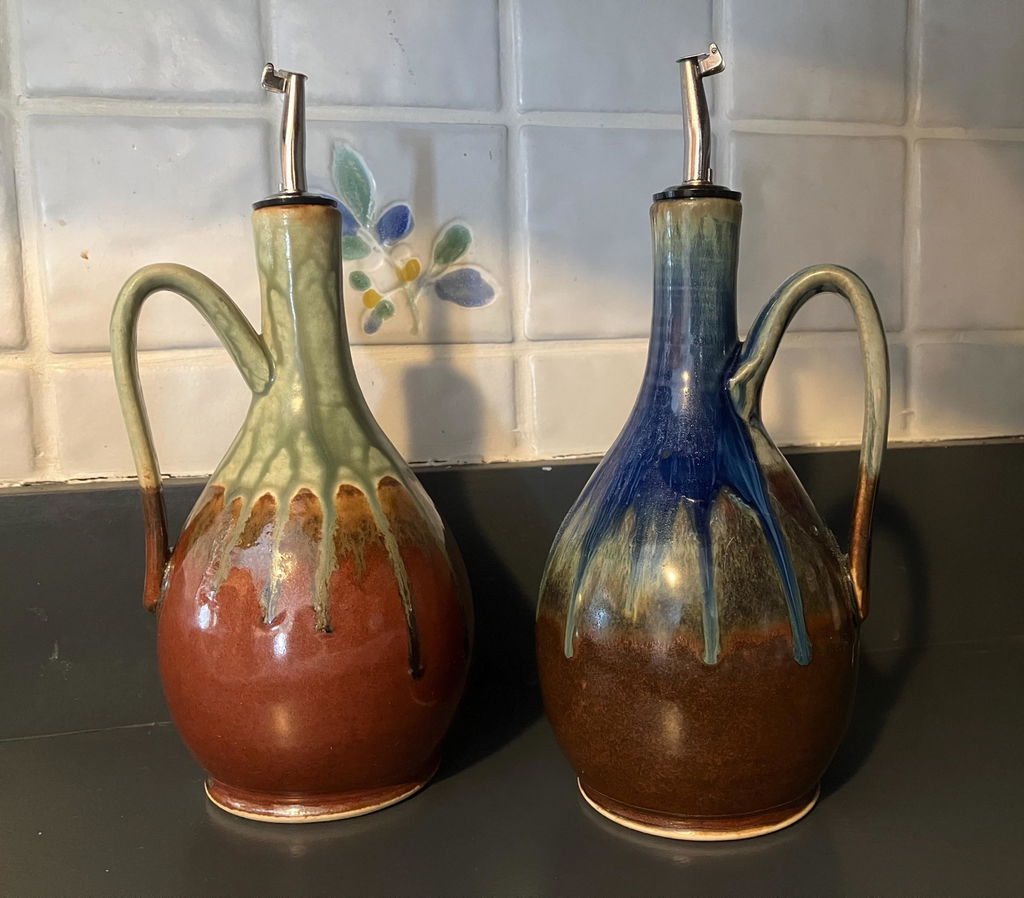
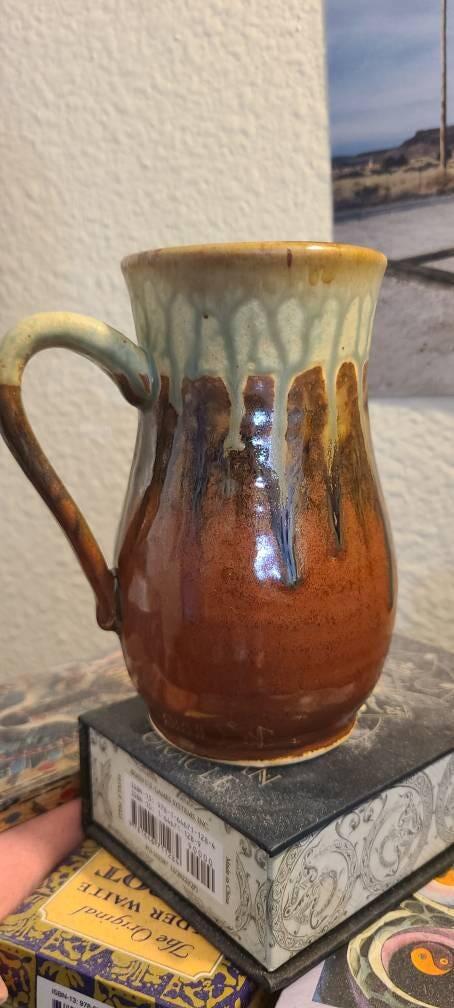
We formulate and mix our glazes from precisely calculated amounts of natural minerals, and apply them through a combination of dipping and spraying with an automotive paint sprayer. Each item gets between 2-3 layers of glaze in various thicknesses, which melt together in the kiln, resulting in vibrant color combinations. The last step is to remove the glaze from the bottom of the pots with the sponging machine so they don’t stick to the kiln shelves.
Click here for the full album of Glazing
Step 5: Firing with a Gas Kiln
The pots are loaded into the kiln in a specific order and arrangement to allow for even heat distribution.
The stackable part of the kiln rolls out for ease of loading, and then wheels back into the firing chamber. We fire the kiln with a pair of propane burners, gradually raising the temperature to 2,400 °F (1,315 °C) over the course of 10-11 hours. Two days later, it is cool enough to open and see the results.
Click here for the full album of Firing with a Gas Kiln